How to Fix a Cracked Acrylic Nail at Home: A Complete Repair Guide
How to Fix a Cracked Acrylic Nail is one of those small disasters that feels bigger than it is — especially when the polish underneath was flawless. The good news: most small cracks can be fixed at home in under 20 minutes with basic supplies. Deep cracks near the cuticle or natural nail are a different story, and those are worth a trip to your nail tech.
This guide walks through why acrylics crack, exactly how to repair one yourself, and how to keep it from happening again.
Key Takeaways
- A small split in an acrylic nail can usually be fixed before it spreads.
- Nail glue, a repair kit, or an acrylic overlay all work as temporary fixes.
- Deep cracks near the cuticle or natural nail are harder to self-repair safely.
- Never force off a cracked acrylic — you risk damaging your natural nail underneath.
- Filing, buffing, and cleaning your nails regularly helps prevent future cracks.
Table of Contents
- How to Fix a Cracked Acrylic Nail at Home: A Complete Repair Guide
- Key Takeaways
- Table of Contents
- Why Do Acrylic Nails Crack?
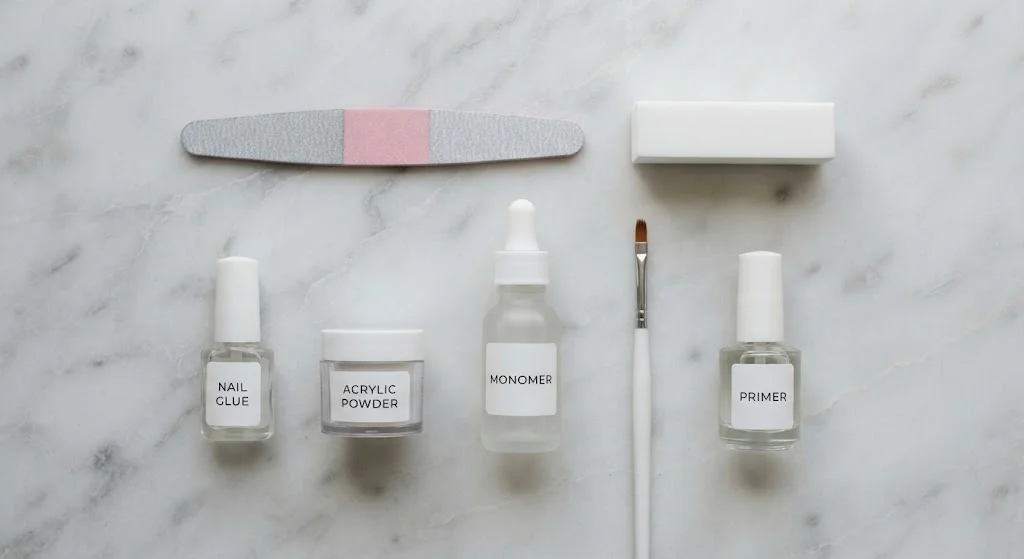
- What You'll Need
- How to Fix a Small Crack (Step-by-Step)
- How to Fix a Deep or Split Acrylic Nail
- Can You Repair a Crack Without Removing the Nail?
- The Tea Bag Method
- Common Mistakes to Avoid
- How to Prevent Acrylic Nails From Cracking
- When to See a Professional
- Myths vs. Facts
- Final Thoughts
- How can I repair a cracked acrylic nail myself?
- Can I fix a damaged acrylic nail without removing the whole thing?
- How do I stop a cracked acrylic nail from getting worse?
- Is nail glue safe to use on acrylic nails?
- Should I always remove a cracked acrylic nail?
- How to Fix a Cracked Acrylic Nail at Home?
- How Do You Prevent a Cracked Acrylic Nail From Getting Worse?
- Can Nail Glue Fix a Cracked Acrylic Nail?
Why Do Acrylic Nails Crack?
How to Fix a Cracked Acrylic Nail is durable, but it isn’t indestructible. Cracks usually trace back to one of these causes:

- Improper curing — if the UV or LED light didn’t cure the acrylic long enough, it stays weak underneath.
- Too much pressure while filing — aggressive buffing stresses the natural nail beneath the acrylic.
- Product buildup — applying acrylic too thick creates weak points; too thin, and it flexes and snaps.
- Heat exposure — speeding up drying with heat can weaken the bond.
- Rushed removal — pulling acrylic off too fast (rather than soaking it in acetone) damages the natural nail.
- Thin or weak natural nails — genetics, nutrition, or illness can all play a role.
- Everyday wear and tear — chemicals, swimming, frequent handwashing, chores, and extreme temperature or sun exposure all break down acrylic over time.
- Nail length — longer nails create more leverage on impact, increasing crack risk.
- Skipped maintenance appointments — regular fills catch small issues before they become breaks.
What You’ll Need
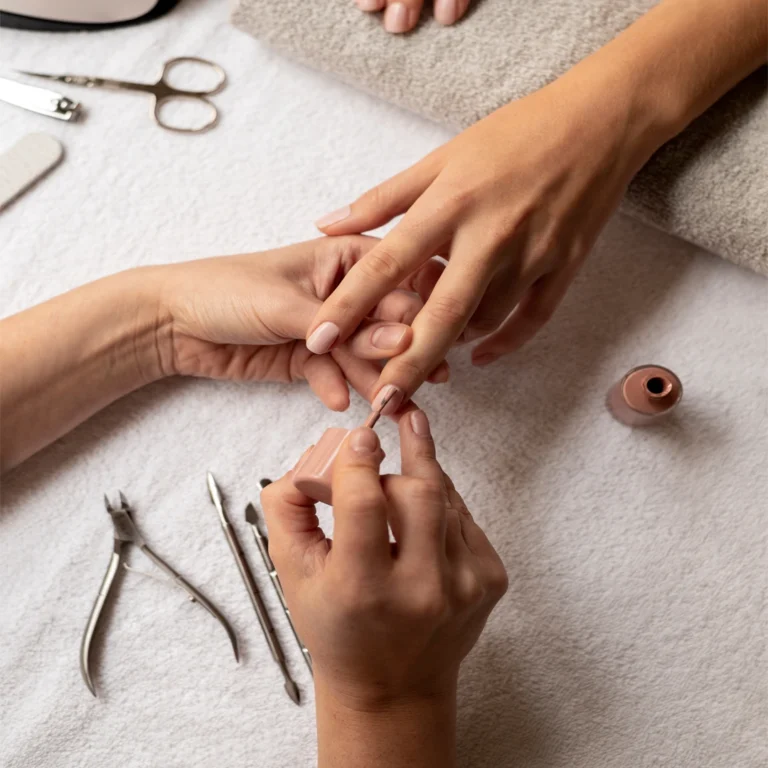
- Nail file
- Nail buffer
- Nail glue
- Acrylic nail repair kit
- Clear acrylic powder (optional)
- Liquid acrylic monomer (for more advanced repairs)
- Nail brush
- Nail primer (optional)
How to Fix a Small Crack (Step-by-Step)
Step 1: Inspect the Damage
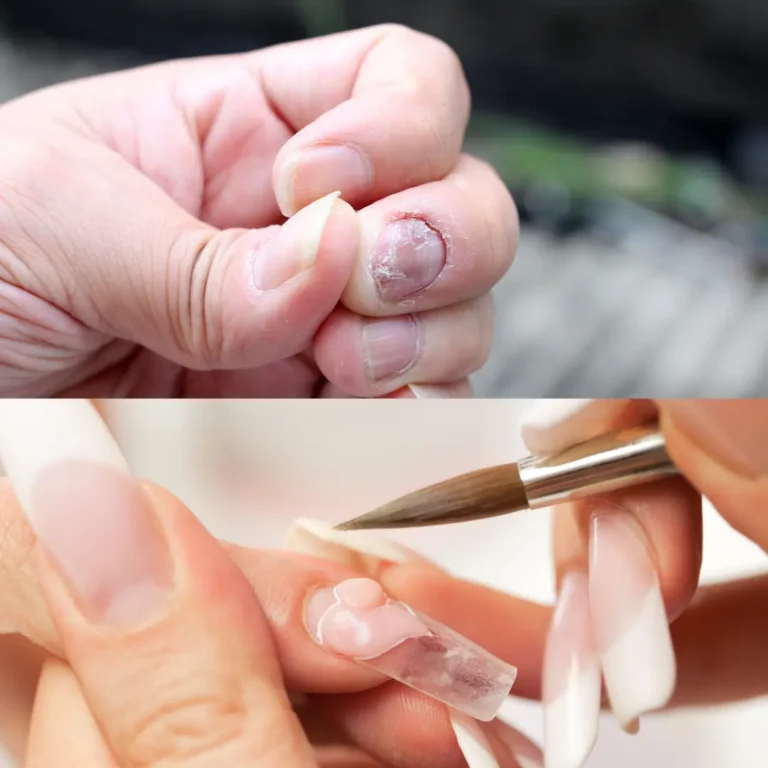
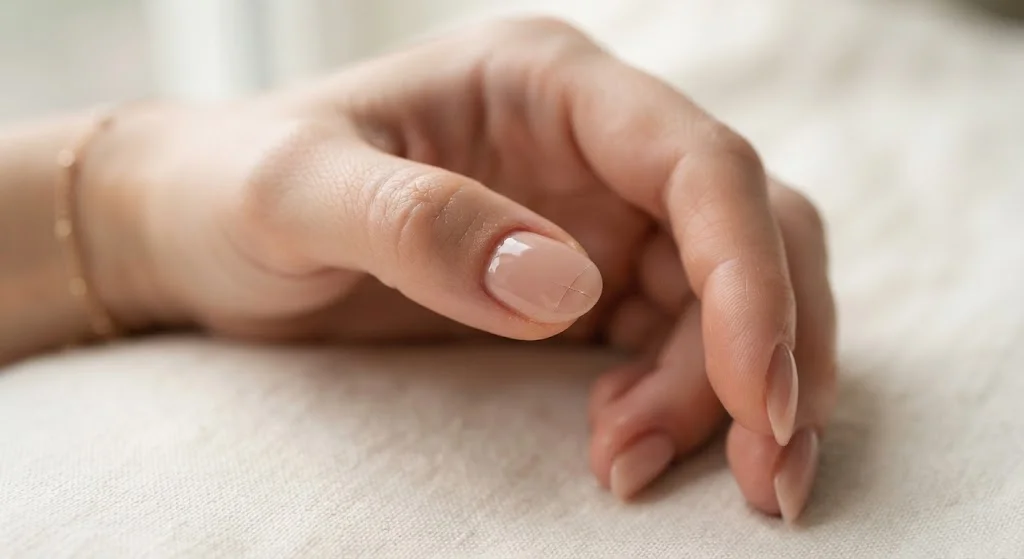
Check whether the crack is only in the top layer, whether it runs near your nail bed, and whether your natural nail underneath looks affected. A surface-level How to Fix a Cracked Acrylic Nail is much easier to fix than a deep split.
Step 2: Clean the Nail
Wash your hands to remove oils and debris — oil prevents glue and acrylic from bonding properly.
Step 3: Smooth the Cracked Surface
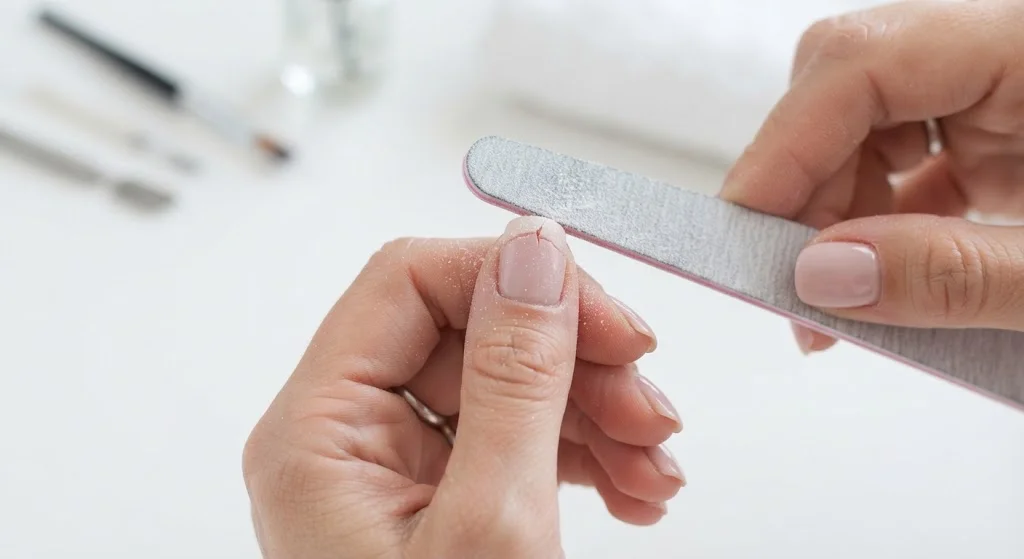
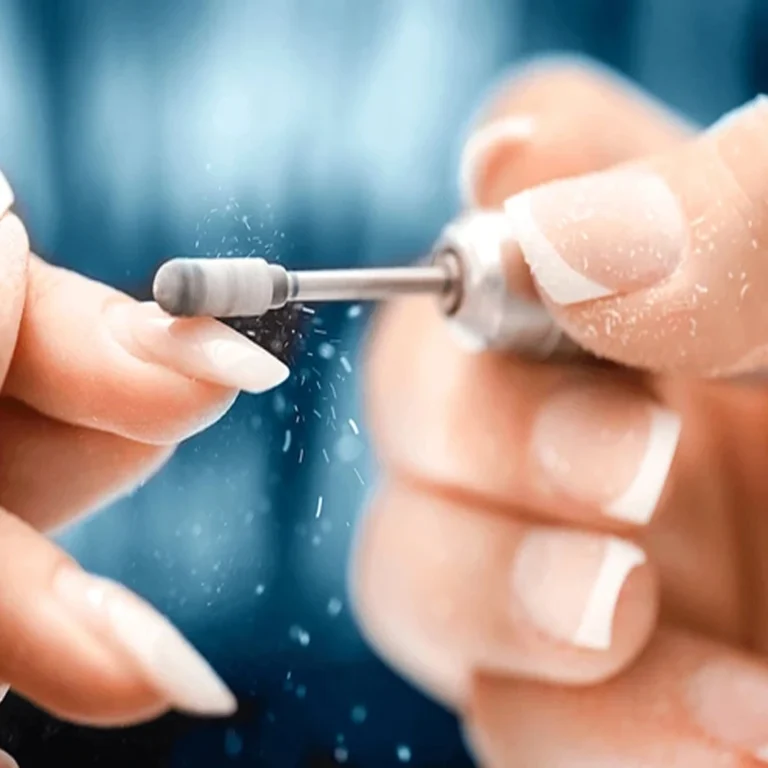
How to Fix a Cracked Acrylic Nail Gently file the rough edges around the crack. Don’t overdo it; removing too much material weakens the nail further. The goal is to eliminate sharp edges and snag points and create an even surface to repair.
Step 4: Apply a Temporary Fix
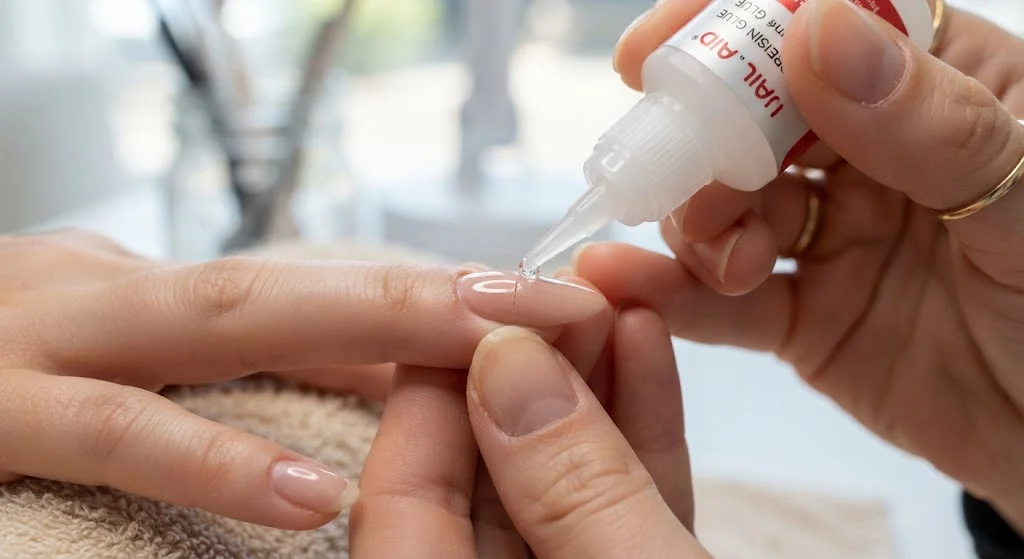
For minor damage, add a small amount of nail glue directly over the crack, let it dry fully, then lightly buff the area smooth.
Step 5: Reinforce With an Acrylic Overlay
For extra strength, prep the nail, apply a small amount of acrylic over the crack, let it cure, then file and buff until smooth.
How to Fix a Deep or Split Acrylic Nail
How to Fix a Cracked Acrylic Nail Deep cracks need more care than a quick glue fix:
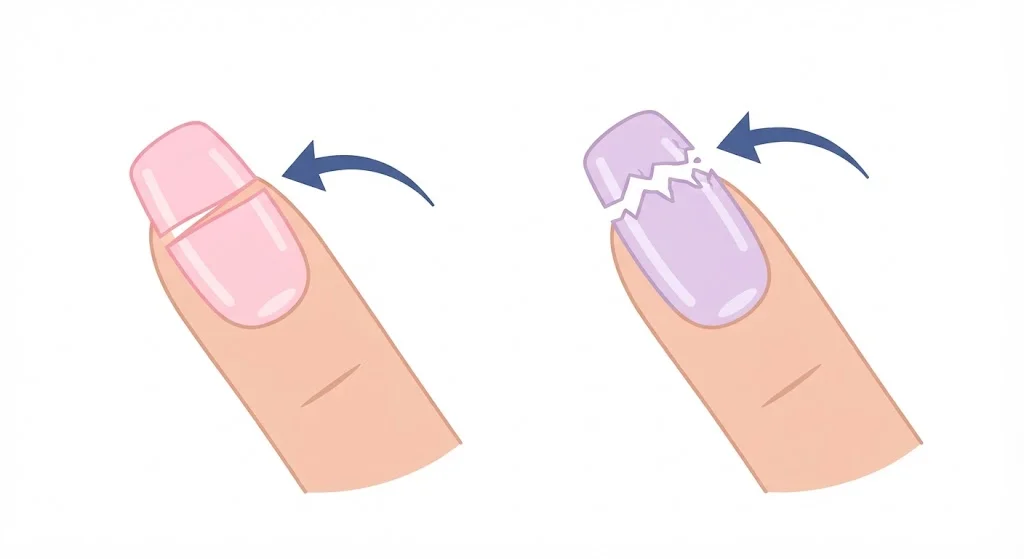
- If it’s a partial split: Remove the damaged portion, buff the remaining edge smooth with an electric file, then seal with clear polish.
- If it’s a full break: Remove the entire nail, smooth the area, build a new “mound” using liquid monomer and acrylic powder, let it cure, file it level, and seal with clear polish.
How to Fix a Cracked Acrylic Nail If the crack reaches your natural nail, skip the DIY route and see a professional — this is where self-repair risks real damage.
Can You Repair a Crack Without Removing the Nail?
Yes, if:
- The crack is small.
- The acrylic is still securely attached.
- There’s no pain and no damage to your natural nail underneath.
In these cases, nail glue, an acrylic overlay, a repair kit, or clear acrylic powder can all serve as effective temporary reinforcement. Just don’t leave a damaged nail on indefinitely — it tends to get worse, not better.
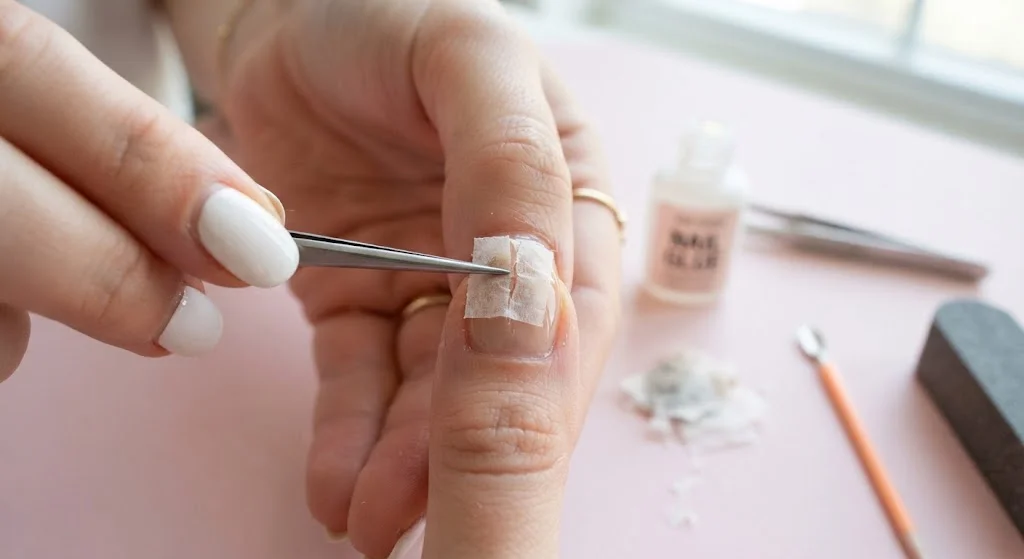
The Tea Bag Method
An old nail-tech trick for reinforcing a crack without a full repair kit:
- Cut a small piece of tea bag paper to fit the damaged area.
- Apply nail glue to the crack.
- Press the tea bag paper over the glue.
- Add a thin second layer of glue on top.
- Smooth everything down.
It’s a temporary reinforcement, not a substitute for a proper acrylic repair — treat it as a stopgap until you can do a full fix or get to a salon.
Common Mistakes to Avoid
- Forcing off a cracked nail — this can tear your natural nail underneath.
- Using too much glue — excess glue drips, bubbles, and dries unevenly rather than making the bond stronger.
- Ignoring a small crack — pressure and daily use will turn a hairline crack into a full break.
- Using your nails as tools — opening packages or scratching surfaces puts direct stress on repaired areas.
How to Prevent Acrylic Nails From Cracking
- Apply a thin, even layer of primer before the acrylic goes on.
- Use the right amount of liquid monomer — too much weakens the finish.
- File off excess acrylic completely once nails are dry.
- Wash hands regularly, but avoid prolonged water exposure.
- Skip harsh chemicals like acetone, bleach, and ammonia on bare hands.
- Don’t use your nails as tools.
- Don’t bite your nails.
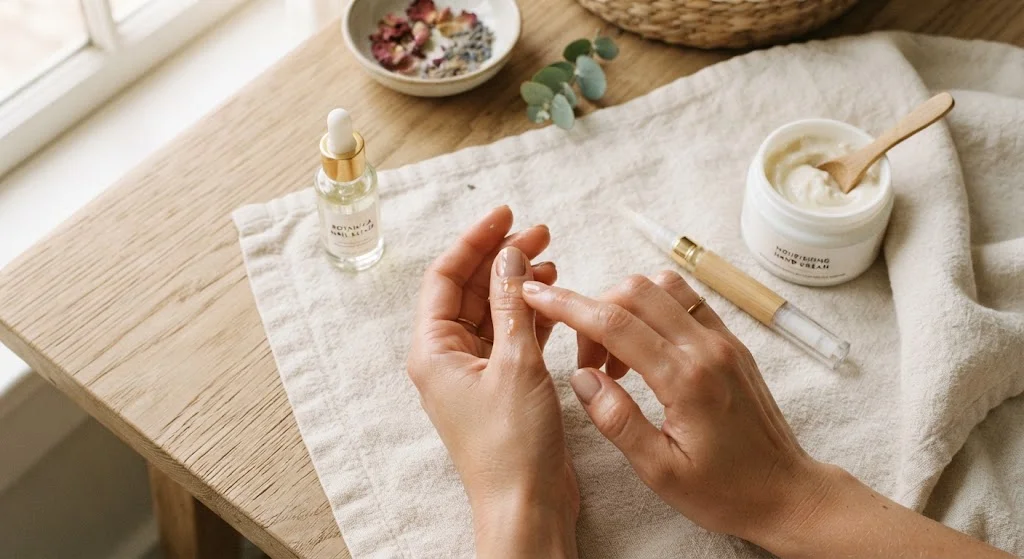
- Add nail oil at the first sign of dryness or minor cracking — it helps restore flexibility.
- Choose a nail length that fits your lifestyle; longer nails need more careful handling.
- Keep up with regular fill appointments so small issues get caught early.
- Use cuticle oil to keep the surrounding skin — and the nail’s foundation — healthy.
When to See a Professional
Book a salon visit instead of DIY-ing it if:

- The crack extends into your natural nail.
- The nail is lifting or coming off.
- You feel pain or sensitivity.
- The acrylic has shattered rather than just cracked.
- The damage is close to the cuticle.
Myths vs. Facts
| Myth | Fact |
| A cracked acrylic nail must be removed immediately. | Small cracks can often be repaired temporarily at home. |
| More glue makes a stronger repair. | Excess glue doesn’t fix poor surface prep — it just makes the repair uneven. |
| Acrylic nails won’t crack. | Acrylics are durable but still need maintenance and can crack under stress. |
| Filing aggressively repairs cracks faster. | Over-filing actually weakens the nail. |
Final Thoughts
A cracked acrylic nail isn’t the end of your manicure — but how you fix it should match how bad the damage actually is. Small, surface-level cracks respond well to a glue fix, an acrylic overlay, or even the tea bag trick. Deep cracks or anything reaching your natural nail are worth a professional’s attention. Either way, catching the crack early and reinforcing it properly is what keeps a minor annoyance from turning into a full nail replacement.
How can I repair a cracked acrylic nail myself?
Wash the nail, smooth the crack with a fine file, apply glue or a repair-kit fix, and reinforce as needed before resuming normal use.
Can I fix a damaged acrylic nail without removing the whole thing?
Usually, yes — small cracks rarely require full removal. Serious damage or a crack reaching the natural nail typically does.
How do I stop a cracked acrylic nail from getting worse?
Avoid putting pressure on it, smooth any sharp edges, and reinforce the crack as soon as you notice it.
Is nail glue safe to use on acrylic nails?
Yes, for minor cracks. It’s a short-term fix and isn’t reliable for significant structural damage.
Should I always remove a cracked acrylic nail?
Not necessarily — but if the crack is deep, painful, or affecting your natural nail, professional removal is the safer choice.
How to Fix a Cracked Acrylic Nail at Home?
For a minor crack, gently clean and dry the nail, smooth any sharp edges with a fine file, and use a suitable nail repair product to reinforce the damaged area. Avoid putting pressure on the nail until it is secure.
How Do You Prevent a Cracked Acrylic Nail From Getting Worse?
Avoid picking, pulling, or putting pressure on the cracked nail. Smooth rough edges carefully and repair the crack promptly to reduce the risk of further damage.
Can Nail Glue Fix a Cracked Acrylic Nail?
Nail glue can provide a temporary solution for a minor crack when used appropriately. It should not be relied on for deep cracks or structural damage, which may require professional repair.