How to Fill Acrylic Nails
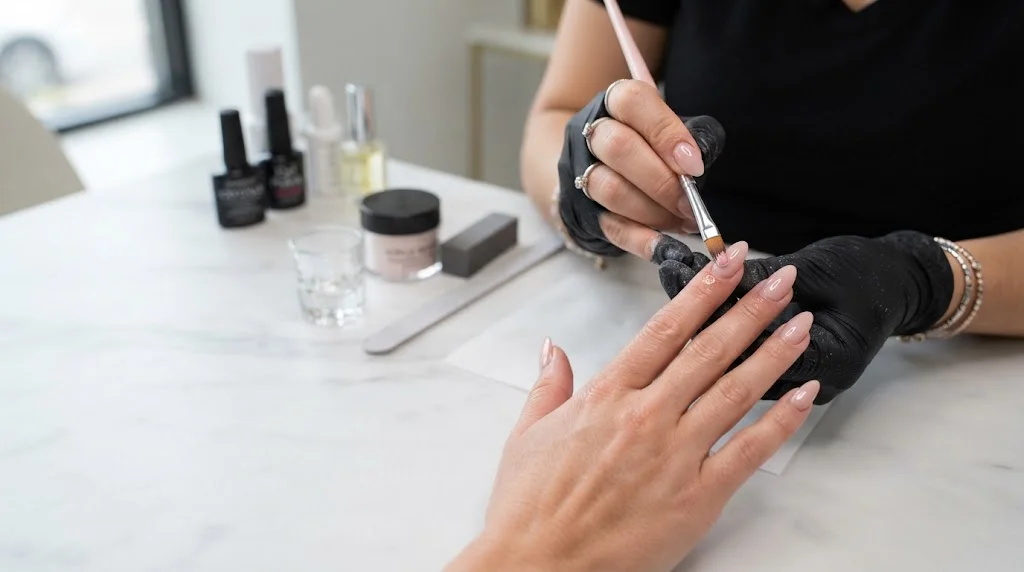
Filling acrylic nails means removing the grown-out or lifted product, preparing the natural nails, placing fresh acrylic in the grown-out area, blending, and reshaping.

Natural nails grow, leaving a space between the acrylic and the cuticle. Grown-out acrylic nails don’t have to be completely removed. An How to Fill Acrylic Nails
replaces the grown-out area and helps support the nail’s structure.
An acrylic fill is not the same as a new set of nails.
Acrylic fills focus on the new growth and the existing acrylic.
Quick Answer: How to Fill Acrylic Nails is when the old acrylic is filed and removed. The new growth is prepped, and acrylic is placed in the gap, blended, and nails are reshaped.
Be gentle with yourself and know that acrylics take a lot of prep and practice, so go at a comfortable pace.
Table of Contents
What is an Acrylic Fill?
When to Acrylic Fill Nails?
What is Needed to Fill Acrylic Nails?
Steps to Fill Acrylic Nails
How to Prep a Natural Nail
How to Place Acrylic in the Grown Area
Blending New Acrylics
Shaping and Finishing Acrylics
Acrylic Fill vs Full Set
Acrylic Fill Mistakes
Making an Acrylic Fill Last
When Not to Fill Acrylics
Acrylic Fill FAQs
Most Important Points
Conclusion
Acrylic Fill Overview
An acrylic fill is the process in which the gap caused by your natural nail growth is filled in by acrylics. This process is essential for maintaining acrylic nails.
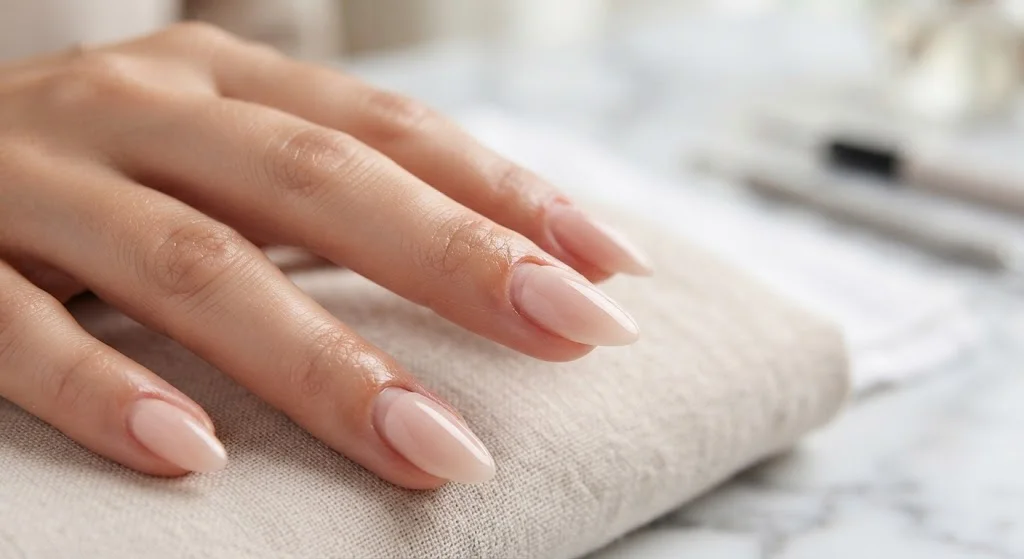
When the nails are first done, acrylics are placed as close to the cuticle as possible without touching the skin. In time, your nails will grow underneath the acrylics.
Eventually, you will see this:
Cuticle → acrylics → natural nail growth
This is the area of growth that is filled.
This process of filling your nails will help restore their appearance and structure without removing the entire set of acrylics.
When to Get Acrylic Fills
Most people need acrylic fills every 2-3 weeks. This all depends on your nail growth and the condition of your acrylics.
You need an acrylic fill when you see:
- Gaps at the cuticles
- Natural nail growth
- A need to reshape the acrylics
- A need to shorten the acrylics
However, you should never fill over significant lifting.
If the acrylics are in poor condition, with extensive lifting, cracks, or other damage, a fill is not the solution; the nails should be removed and reapplied.
For more details, check out our article, How Often Should You Get Acrylic Nails Filled?
What Do You Need to Fill Acrylic Nails?
Knowing whether you’ll be doing a simplified fill at home or a professional-style fill will, for the most part, guide you on the supplies you’ll need.
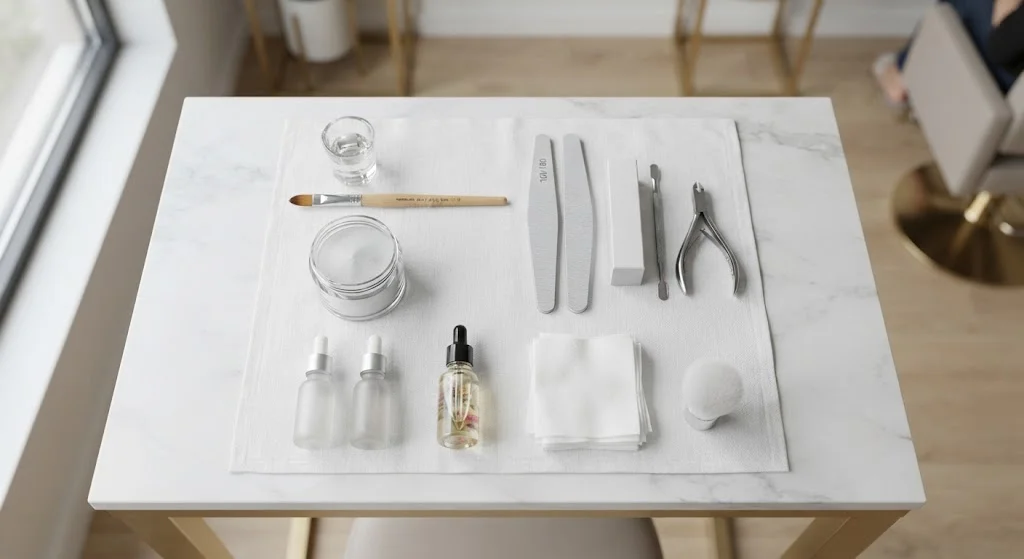
You’ll mostly need these supplies:
| Supply | Purpose |
| Nail clippers | Shortening nails when necessary |
| Nail file | Shaping and refining |
| Buffer | Smoothing the surface |
| Acrylic nail brush | Applying acrylic |
| Acrylic powder | Creating the acrylic enhancement |
| Monomer | Combining with acrylic powder |
| Dappen dish | Holding monomer |
| Nail dehydrator | Preparing the nail surface |
| Nail primer | Supporting product adhesion when suitable |
| Cuticle pusher | Gently pushing back cuticles. |
| Lint-free wipes | Cleaning the nail |
| Cuticle oil | Conditioning surrounding skin |
| Dust brush | Removing filing dust |
Acrylic systems can really differ.
Be sure to read all the guidelines that come with each acrylic system you purchase. There will be a section explaining safety precautions and other important instructions.
How to Fill Acrylic Nails in a well-ventilated area and avoid all contact with skin.
How to Fill Acrylic Nails Step by Step
Acrylic fills require you to follow a series of steps that mainly consist of inspecting, removing, filing, applying, blending, and shaping.
This is the acrylic fill process:
Step 1: Inspect the Existing Acrylic
Before you reach for the nail file, inspect each nail.
Look for:
- Lifting
- Cracks
- Breakage
- Discoloration
- Excessive thickness
- Damage to the natural nail
- Significant lifting and damage are good indications that a fill is not needed.
Step 2: Clean Your Hands and Nails
Nails need to be free of polish and surface residue, and fully dry. Only then can you begin the nail preparation.
Step 3: Pushing Back Cuticles
Carefully use a cuticle pusher to push the cuticles back.
Never scrape or cut the living cuticle.
Doing this allows the nail technician to see the area where the nail grows and where they have to work.
Step 4: Removing Lifted Acrylic
If any acrylic has lifted, do not place a new layer over it.
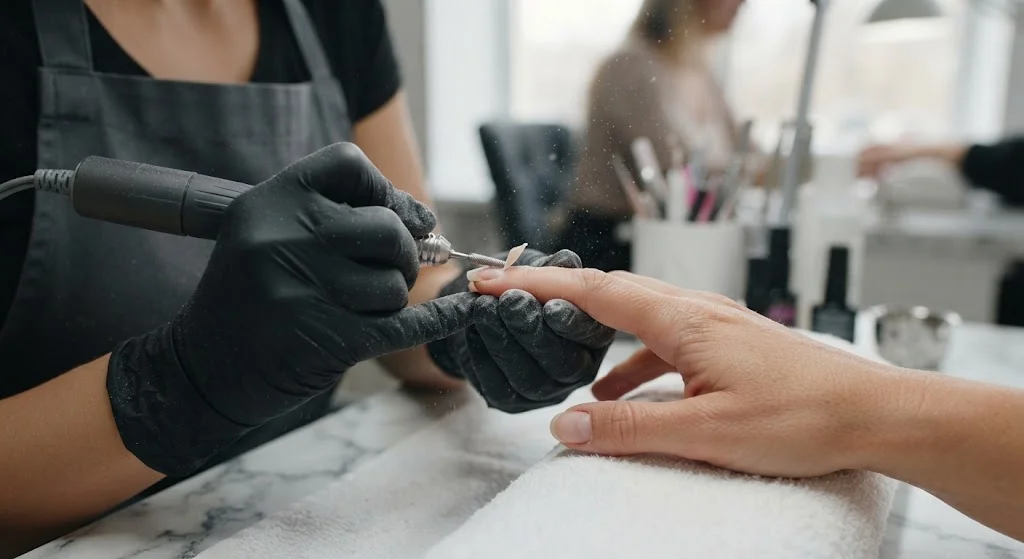
You have to remove all of the acrylic that has lifted.
Using a file, remove the lifted acrylic and any parts attached to the nail.
If large portions of acrylic have lifted, remove all the acrylic and do not attempt to refill.
Step 5: Filing Existing Acrylic
Make sure that the acrylic is not too thick.
You do not have to remove all of the acrylic.
You have to make sure that the acrylic is not too thick.
Make sure the acrylic enhances nail growth.
Do not file the nail too much.
Step 6: Preparing New Growth
You have to prep the nail before applying a new layer of acrylic.
Remove the shine: this is usually part of the acrylic application.
Make sure that there is no dust.
Afterward, apply a nail dehydrator and primer.
Over-filing the natural nail can weaken it.
How to Prep the Natural Nail for an Acrylic Fill
If the natural nail has not been properly prepped, the acrylic application will not be clean.
- You must clean the nail.
- Make sure that the cuticles are pushed back.
- Make sure that the non-living tissues are removed.
- You must remove dust and apply a nail dehydrator if required.
- Adhere primer to the acrylic system in use.
Each professional system has its own unique prep methods.
Known prep errors:
– Aggressive buffing of the natural nails
– Cuticle removal
– Dust remains on nail
– Prep nails with oily skin residue
– Acrylic applied alongside skin
Utilize these methods when applying acrylic in grown-out areas:
After prepping the nail, acrylic may be applied to the grown-out area. Acrylic should be blended into the nail enhancement to maintain the nail’s structural integrity.
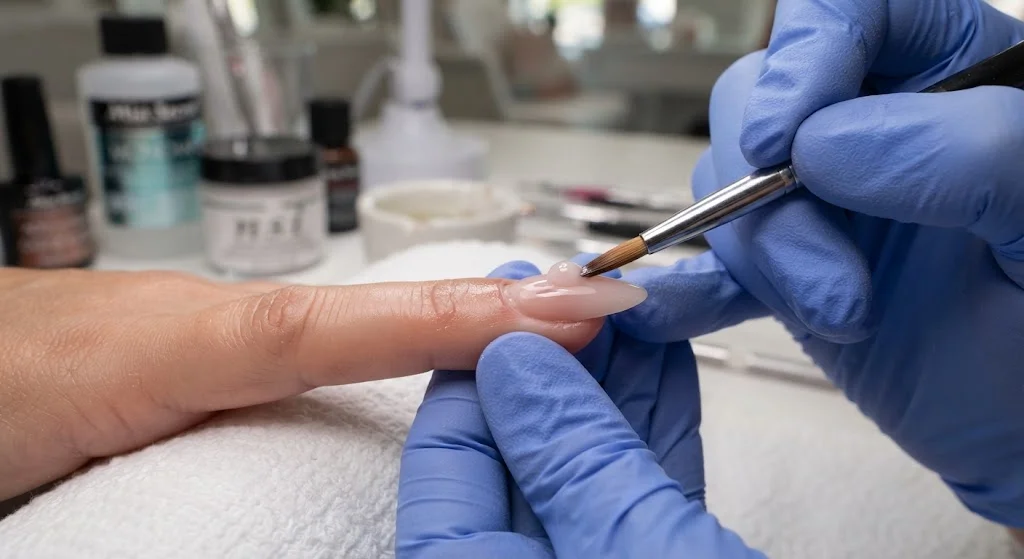
If you use a traditional acrylic system, you will use either acrylic powder or a liquid monomer to create the system yourself, following the manufacturer’s instructions to achieve the desired consistency.
Paying attention to the product placement at the cuticle is imperative, as is ensuring that skin is not encased by acrylic.
The acrylic should not be applied to the cuticle in a bulky fashion.
Most beginners use too much acrylic when filling in.
A fill should limit the nail’s bulk.
A nail should not lose its structural integrity and should maintain a graceful transition from the fill to the previously existing acrylic.
To maintain the previously existing acrylic, blending and filing help reduce the ridge formed between the existing and newly applied acrylic.
This is done by ensuring that the newly added acrylic is flush with the previously existing acrylic.
After the acrylic has set according to the system in use, the following should occur:
The transition area should be filed and smoothed, and the sidewalls should be refined and buffed to the desired finish.
Use controlled filing instead of aggressive filing.
Check the Nail From Multiple Angles
Don’t just check the top.
Check the nail:
- From the side
- From the front
- From above
This helps you find places that have uneven thickness and shape.
How to Shape and Finish Acrylic Nails
Once the fill is applied and blended, you can reshape the nail and finish the surface according to the style you want.
Some of the most common acrylic shapes are:
- Almond
- Coffin
- Square
- Oval
- Squoval
- Stiletto
Step 1: Refine the Sidewalls
Make sure both sides are even.
Step 2: Shape the Free Edge
Shape the tip to the desired free edge shape.
Step 3: Smooth the Surface
Remove all filing marks and smooth out all surfaces.
Step 4: Clean Away Dust
Remove all dust with a suitable dust brush or a lint-free material.
Step 5: Apply Color or Finish
You can finish the nails with:
- Nail polish
- Gel polish
- French tips
- Nail art
- A clear finish
Step 6: Apply Cuticle Oil
Finish the nails with the surrounding skin-conditioning cuticle oil.
Acrylic Fill vs. Full Set
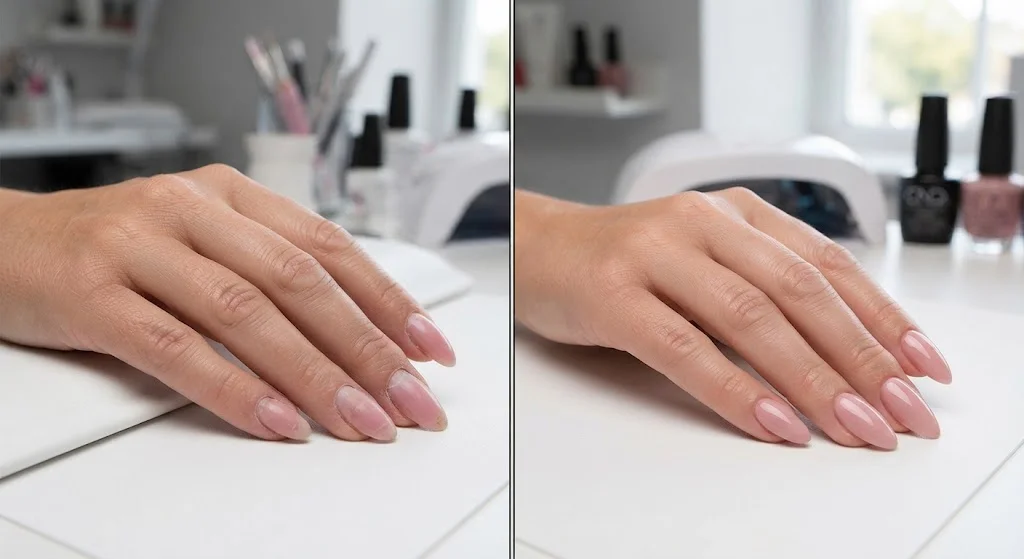
A fill is done to maintain an existing acrylic enhancement. A full set removes or replaces the existing product and creates a completely new enhancement.
| Acrylic Fill | Full Set |
| Designed to accommodate the growth of the natural nail | New enhancements are created |
| Uses existing acrylic if appropriate | Existing acrylic is completely removed |
| Usually requires less acrylic | Usually requires more acrylic |
| The enhancement is redesigned | Fully maintained |
| Best when enhancements are structurally sound | Best when enhancements are damaged |
Choose a Fill When:
- The existing acrylic is stable.
- There is normal grow-out.
- The structure is satisfactory.
- There is minimal lifting or damage.
Consider a New Set When:
- There are multiple nails with significant lifting.
- The existing acrylic is damaged.
- The structure is no longer suitable.
- The product is too thick.
- You desire a different shape or length.
Common Mistakes with Acrylic Fills
Most mistakes with acrylic fills stem from improper preparation, over-filing, poor placement of the product, and attempts to cover up existing issues.
Mistake 1: Filling Over Lifted Acrylic
This mistake traps issues under the new product.
Better: Remove all lifted acrylic, and then apply fresh acrylic.
Mistake 2: Over-Filing the Natural Nail
This is counterproductive.
Better: Prepare the nail with careful filing, avoiding excessive removal.
Mistake 3: Applying Acrylic Too Close to the Skin
This can cause lifted nails and skin irritation.
Better: Practice proper control when placing the product.
Mistake 4: Making the Nail Too Thick
This distorts the nail’s structure and appearance.
Better: Restore the enhancement with the minimal product necessary.
Mistake 5: Ignoring the Apex
This helps maintain the structure of the enhancement.
Better: Check the enhancement from the side to maintain proper structure.
Mistake 6: Filing Too Aggressively
This can ruin the nail enhancement and natural nail.
Better: Use the proper equipment and the appropriate filing level.
Mistake 7: Rushing the Process
This type of work requires careful attention to detail.
Better: Give priority to high-quality work over the desire to be fast.
How to Make an Acrylic Fill Last Longer
Good aftercare keeps How to Fill Acrylic Nails in good condition for longer.
Keep Nails Clean
Wash nails thoroughly and regularly.
Use Cuticle Oil
Condition the surrounding skin often.
Wear Gloves
Wear gloves for household chores.
Avoid Using Nails as Tools
Do not scrape, lift, open, or pry nails.
Do Not Pick at Lifting
When acrylics lift, do not pull. Get them fixed.
Choose a Practical Length
Shorter nails are easier to care for.
Maintain Regularly
Get nails filled before they are damaged or grown out too far.
When Should You Not Fill Acrylic Nails?
Do not do a standard fill for acrylics that are drastically changed, damaged, or have lifted too far.
Stop and take a good look at your nails if you notice one or more of the following:
- Drastic lifting
- Cracks that damage or go into the natural nail
- Discoloration
- Pain or swelling
- Damage
- Separation
- A natural nail that is damaged or compromised
New acrylics are not a solution to cover up problems. The old acrylics will likely need to be removed to assess the natural nail properly.
How to Fill Acrylic Nails If you have pain, swelling, or concerning changes to your nails, seek professional medical care.
Main Points
How to Fill Acrylic Nails is when the grown nails are filled to cover the growth of the natural nails. Most people need nail fills after 2 or 3 weeks.
Never just cover severely lifted acrylic nails with a new product.
The natural nails should never be thinned excessively by filing.
The newly placed acrylic should be a seamless continuation of the previously done How to Fill Acrylic Nails
A fill should never be done when the nails are severely damaged, or How to Fill Acrylic Nails is severely lifted.
Last Words
Understanding How to Fill Acrylic Nails grow is key to learning how to fill them.
The fill process is not simply placing a new layer of acrylic on the nails.
How to Fill Acrylic Nails process involves many steps, such as analysis of the current state of the nails, preparation, precise application, blending, and polishing.
Never cover a problem with a fill.
How to Fill Acrylic Nails The acrylic nails should be in a good state. If so, then a fill is appropriate. A fill should refresh the acrylic nails. If there are structural problems such as lifting, cracking, or areas that cause pain, then it’s best to remove and check the nails.
For more information and tips on acrylic nails, check out How to Take Care of Acrylic Nails.
How often should acrylic nails be filled?
Most people need a fill every 2-3 weeks.
Can I fill acrylic nails at home?
Yes, with practice you can learn to control product and preparation at home.
New learners should study the necessary techniques before starting with a full professional-style nail fill.
Do I need to take all acrylic off before a fill?
No, fills are intended to support most of the acrylic. Any acrylic that is lifted, damaged, or deemed unsuitable should be removed.
Can you fill acrylic nails without removing the acrylic?
Yes, if the acrylic is in good condition and properly attached, it is generally filed and blended but not completely removed.
How much acrylic is removed during a fill?
This varies, but the general idea is to remove any lifted or damaged acrylic and lessen the thickness while keeping any good acrylic that is safe to keep.
Why does my acrylic fill keep lifting?
This can be due to many factors: insufficient preparation, the product coming into contact with the skin, poor application, the growth of the natural nail, moisture, and other physical factors.
Can I use gel polish after an acrylic fill?
Yes, as long as the acrylic is properly prepared, the products are compatible, and the products are used correctly, gel polish can be used.
How long does an acrylic fill take?
This can vary for different reasons, such as the amount of nail growth, the condition of the acrylic, and the design of the nails.
Is an acrylic fill cheaper than a new set?
An acrylic fill usually uses less product than a new set of nails, so salons are likely to have different prices for fills and full sets. Prices vary depending on the salon.
What happens if I fill over lifting acrylic?
This will conceal the lifting and imperfections in the acrylic, but it is only a temporary solution.
The lifted acrylic needs to be properly treated before any new acrylic is placed.
Can you fill acrylic nails after 4 weeks?
That is possible, but it strongly depends on the condition of the current nails. If the nails have lifted or grown a lot, or if there are structural problems, getting a new set of nails is recommended.