Slay Every Step: Acrylic Toes That Wow!
Imagine relaxing under the warm sunshine with toes adorned with beautiful nail art: bliss! Acrylic Toe Nails make this possible. Beginners just starting or established professionals looking to hone their craft will find this guide invaluable when learning the craft of acrylic enhancements or pedicures! Let’s dive right in to create gorgeous, long-term pedicures!
What Are Acrylic Toe Nails?
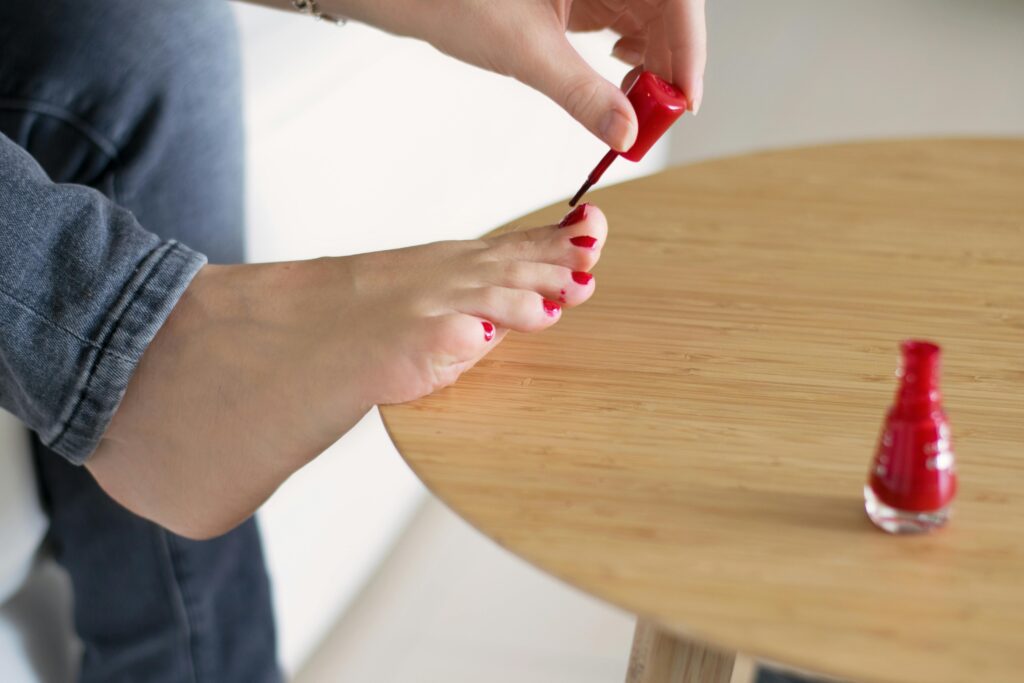
Acrylic toenails are artificial nail enhancements created by mixing liquid monomers with powder polymer components. Once mixed, this combination forms a durable yet moldable substance that can then be shaped, filed, and polished into stunning designs unlike regular nail polish, which often needs regular touch ups over time. Acrylic nails have long term strength and beauty qualities, which makes them popular with those looking for lasting, beautiful toenails!
Why choose acrylic toenails?
Durability: Acrylic materials have excellent chip resistance.
Versatility: They offer endless customization possibilities about shapes, lengths, and designs.
Longevity: they should last between 4 -6 weeks with proper care
Design Ideas for Acrylic Toenails
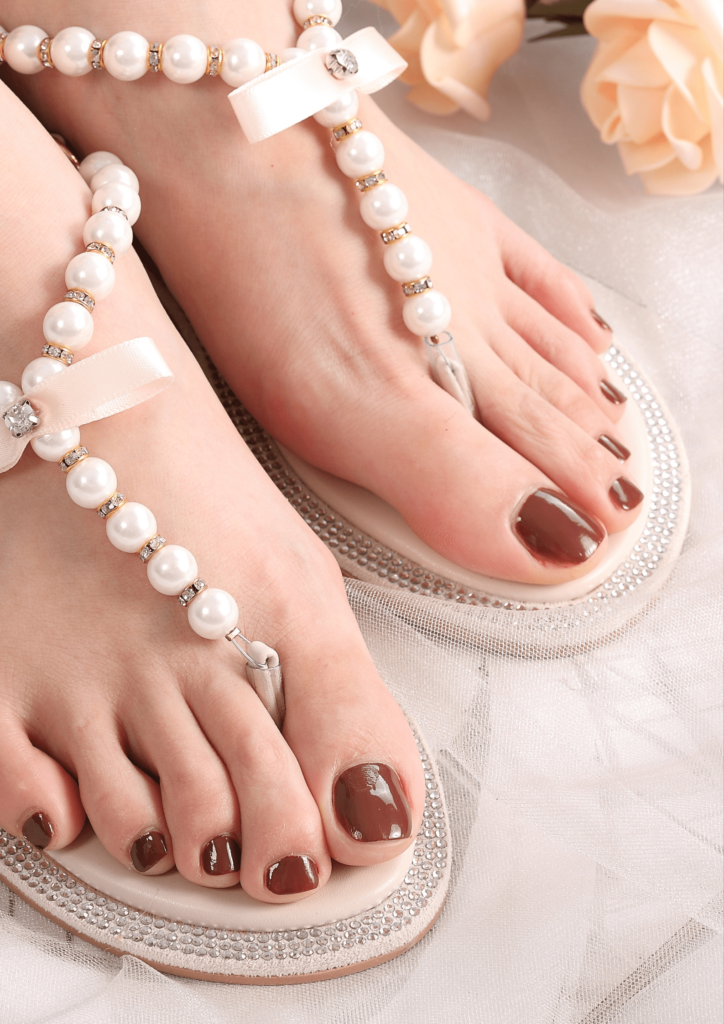
Acrylic toenails offer infinite opportunities for creativity. Regarding designs for these beautiful nails, the possibilities for innovation seem limitless. Classic French Tips: offer timeless elegance, perfect for any event or social setting.
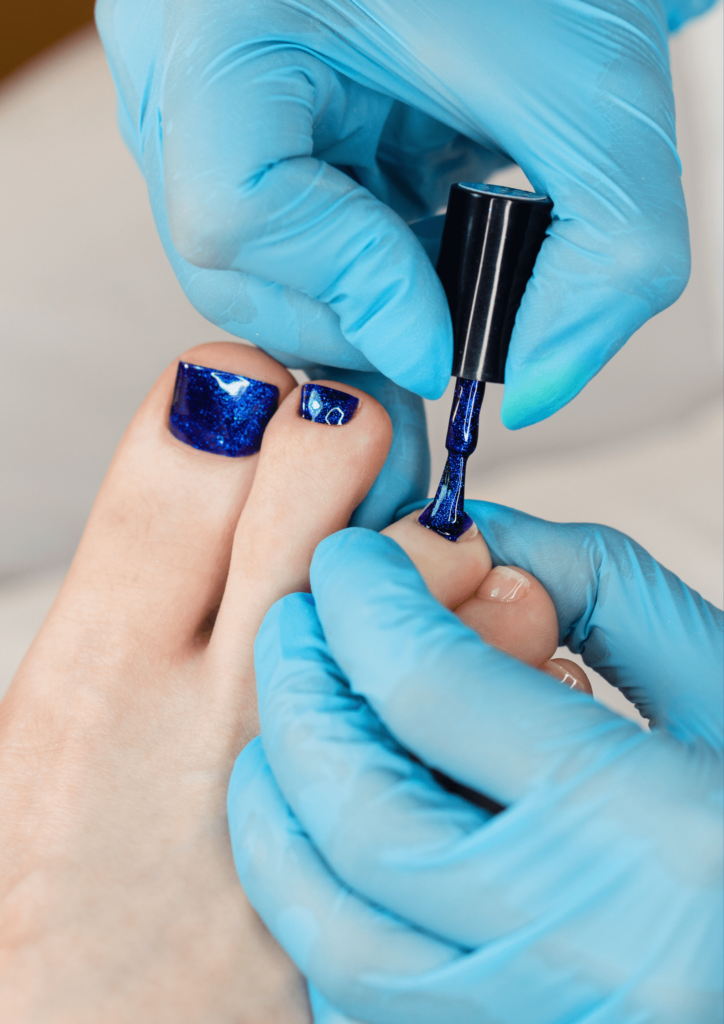
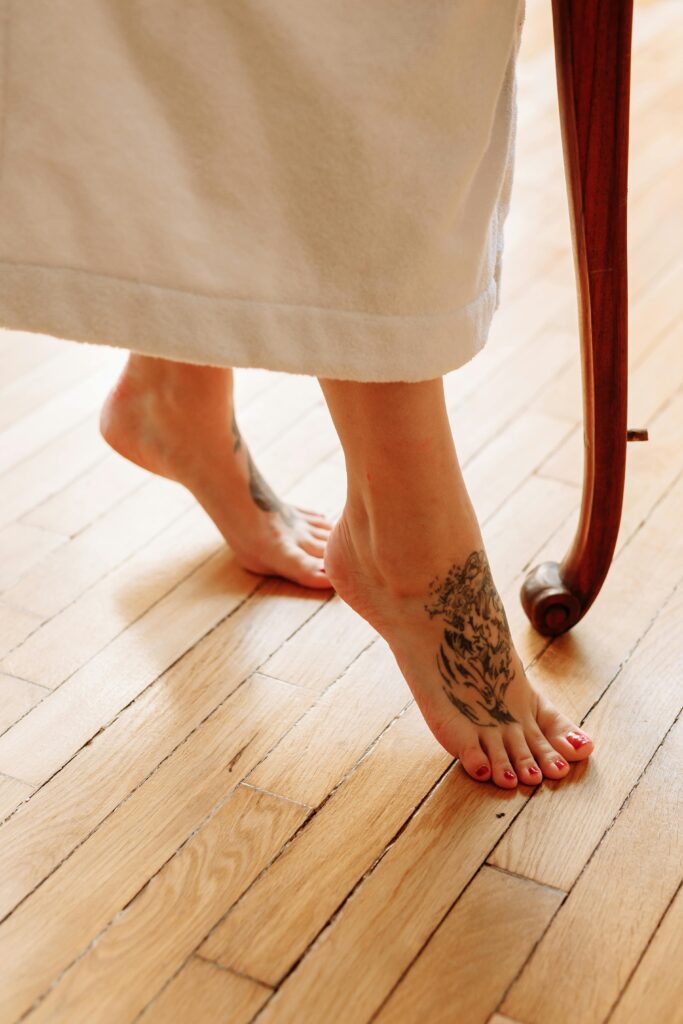
Bold color: accents in red, blue, and neon greens add bold statements for statement looks that stand out.
Ombre Effect: Create gradient effects by mixing two or more colors for an eye catching effect.
Nail Art: Add personalized details like rhinestones, glitter, or hand-painted designs for added personalization.

How to Apply Acrylic Toe Nails: A Step-by-Step Guide
Although applying acrylic toenails might appear daunting at first, armed with the appropriate tools and techniques, you can achieve salon-grade results at home. Here’s an outline of this step by step process:
Step 1: Assemble Your Supplies
- Before getting started, ensure you have everything necessary:
- Acrylic liquid monomer
- powder polymer
- Nail primers
- Nail tips or forms
- Nail file and buffer
- Nail brush
- Cuticle pusher
- Toe separators
- UV or LED lamp (if using gel polish)
Step 2: Prepping Natural Nails
Clean Your Nails: Wash Feet Thoroughly to Prepare Natural Nails In step two, you need to carefully prepare natural nails by taking steps such as removing all old polish, washing feet thoroughly with soap and water, wiping nails clean of dust or other impurities, and buffing.
Trim and Shape: Trim your natural nails and file them to achieve the shape that best fits you.
Reposition Cuticles: Gently push back your cuticles using a cuticle pusher.
Polish the Surface: To optimize adhesion between nails and surfaces, lightly buffing can help create an irregular surface texture for improved adhesion.
Apply Primer: Apply nail primer to dehydrate the nail bed and ensure the acrylic adheres securely.
Step 3: Apply Acrylic Waxes
By Dipping Brush: Your nail brush must first be immersed in liquid monomer before being dunked in powder acrylic to form small beads.
Place Bead: Attach the bead to your nail using the brush, and shape it for an optimal look.
Build Your Nail: Add beads until the nail reaches your desired thickness and shape.
Let It Dry Completely Before Moving Forward: Allow time for the acrylic to dry fully before proceeding to the next step.
Step 4: Shaping and Polish
Polish the Surface: To smooth out imperfections on nails and reduce inflammation, buff nails until any irregularities or discolourations disappear.
Apply Polish: Complete your look with your preferred nail or gel polish for an impeccable appearance.
File and Shape: Use a nail file to refine the shape of your acrylic nails.
Maintain Your Acrylic Toenails
To keep your acrylic toenails looking their best and in top condition, follow these maintenance tips:
Moisturize Daily: Regular moisturizing is key to keeping cuticles and surrounding skin supple and hydrated and preventing dryness.
Avoid Harsh Chemicals: Always wear gloves when cleaning with harsh chemicals to safeguard the nails of those using them and to reduce exposure.
Schedule Regular Fills: To maintain the appearance, it is recommended that you visit your nail technician every 2 to 3 weeks for fills.
Be Kind: Use care when using your nails as tools to avoid lifting or breaking them.
How to remove acrylic toenails safely at home?
It is vital to take steps when it is time to take off acrylic toenails safely so as not to cause harm to the natural nails underneath them. Here is what should happen:
Filing Acrylic Surface: Gently file away at the surface layer of acrylic to break its seal and expose any sealants underneath it.
Soak in Acetone: Soaking your toes in acetone for 15-20 minutes will loosen any acrylic that might have hardened over time and help dissolve its adhesions.
Remove Carefully: A cuticle pusher may help remove acrylic by gently softening it with heat. Use it to scrape off softened acrylic.
Moisturize: Apply cuticle oil and moisturizer to nourish both nails and skin.
